
Selling or trading in an old device should not mean giving away your photos, account access, saved documents, and browsing history. Unfortunately, simply deleting files or logging out of one app is not enough. The safest preparation uses a complete backup, the operating system's official erase process, and a final check that account locks will not block the new owner.
1. Back up before you erase anything
Start with photos, contacts, documents, messages, and app-specific files. Confirm you can actually open the backup from another device or computer. If you use an authenticator app, password manager, or work-managed account, complete its approved migration before resetting the old device. Do not rely on a single cloud icon to mean every file is safely copied.
Check paired devices such as smartwatches, Bluetooth accessories, and two-factor authentication approvals. If your phone number is moving to a new phone, make sure you can receive calls and verification texts there. For computers, save license information and confirm you have access to recovery keys when appropriate.
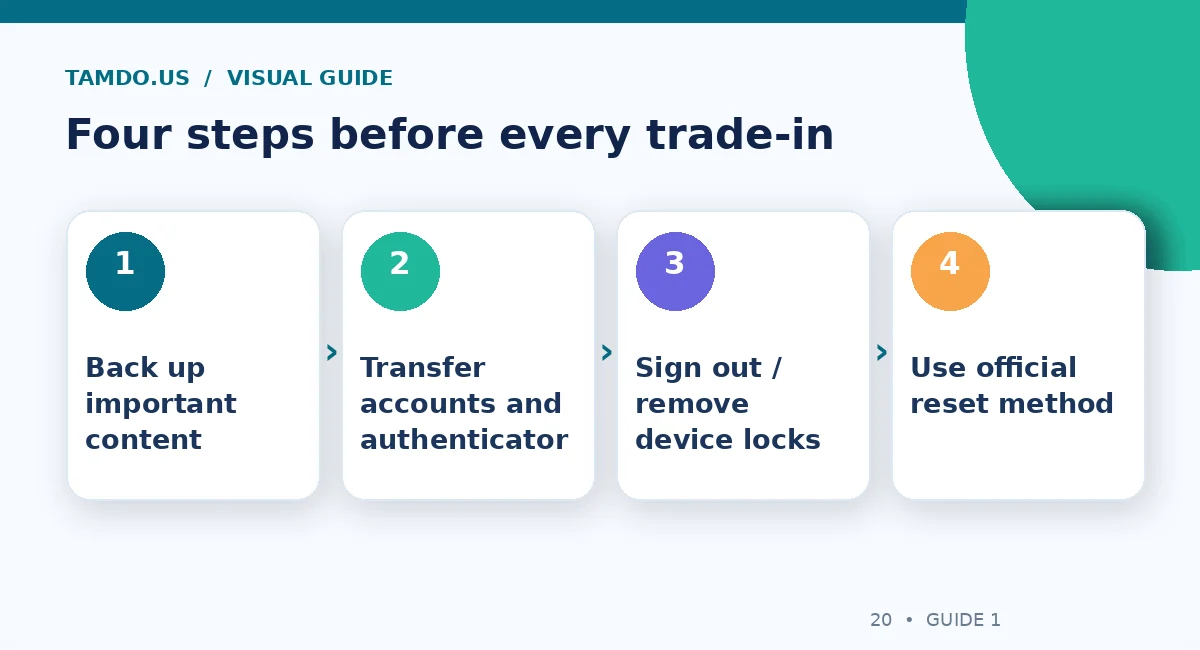
Four steps before every trade-in — original educational illustration created for TamDo.us.
2. iPhone and iPad: use Apple's erase workflow
On a current iPhone or iPad, follow the manufacturer's guidance for signing out and removing personal information, then go to Settings > General > Transfer or Reset [Device] > Erase All Content and Settings. Apple explains that the process can remove personal content and turn off Find My and Activation Lock when completed with the required account credentials.
If the device uses an eSIM, follow the prompts to remove the cellular profile when transferring ownership; coordinate with your carrier so you do not accidentally disconnect the line you still need. Unpair an Apple Watch when applicable, and remove physical SIM cards. If you cannot finish the reset because of an account prompt, resolve that before handing the phone to someone else.
3. Mac: use Erase All Content and Settings when available
On supported Apple silicon Macs and Intel Macs with the Apple T2 Security Chip running macOS Monterey 12 or later, Apple offers Erase All Content and Settings for preparing the computer for resale. This is the preferred supported option because it signs out of services and removes content and relevant account locks through a guided process.
Older Macs or incompatible macOS versions require a different manufacturer-documented sign-out, disk erase, and reinstall procedure. Do not follow a random tutorial intended for a newer Mac if your hardware is different. Keep the Mac connected to power, back up your data, and do not assume the computer is ready for a buyer until its setup assistant appears without your personal account.
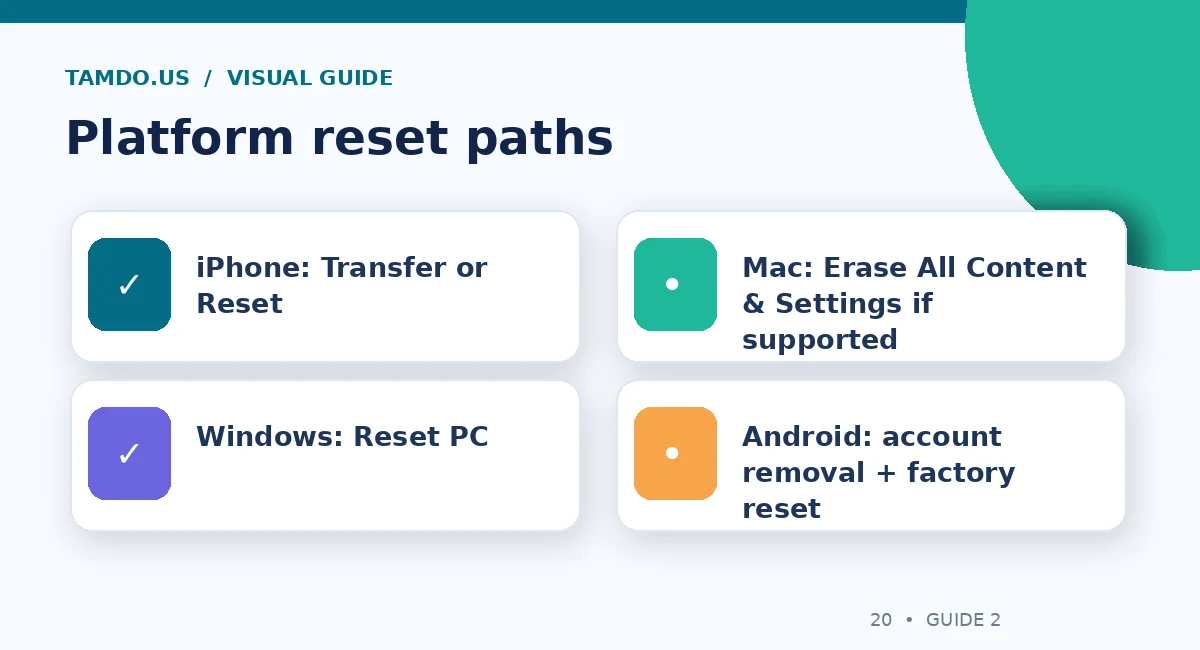
Platform reset paths — original educational illustration created for TamDo.us.
4. Windows PC: Reset this PC and choose the right options
For Windows 11, Microsoft's official path is generally Settings > System > Recovery > Reset PC. After backing up, choose the Remove everything option when preparing the machine for a new owner. Microsoft also offers a Clean data setting on supported reset paths to make ordinary file recovery more difficult than a quick removal.
This consumer feature is not the same as certified data destruction for highly sensitive or regulated information. If the computer holds confidential business data, follow your organization's secure disposal policy or consult a qualified data-erasure service. Also remove the old device from account management lists when appropriate.
5. Android: remove accounts, then factory reset
Android menus vary by manufacturer and version. Typically, back up content, remove Google and manufacturer accounts where appropriate, and use the device's Factory data reset or equivalent option in Settings. Be mindful of Factory Reset Protection: a device can remain tied to previous credentials if the transfer or reset process is incomplete.
For Samsung Galaxy devices, use Samsung's model-specific guidance; other manufacturers may use different menu names. Remove physical SIM or microSD cards and check that cellular service has been moved. Never bypass an account lock or sell a device that you cannot legitimately prepare for transfer.
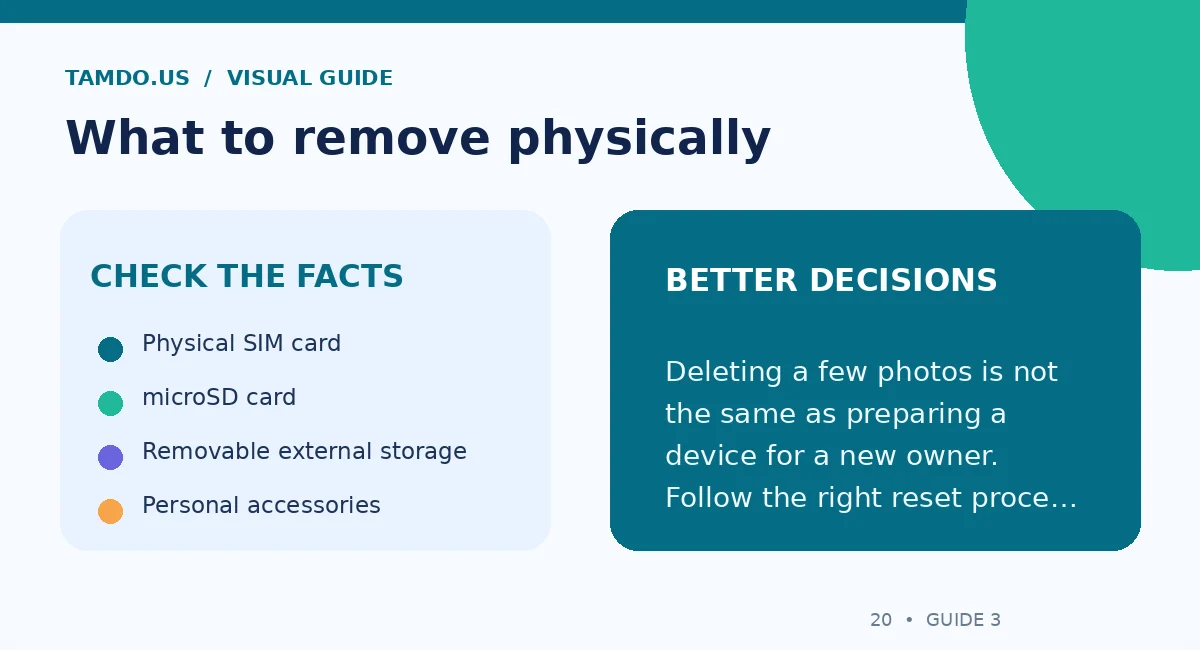
What to remove physically — original educational illustration created for TamDo.us.
6. What about removable drives and accessories?
Memory cards, USB drives, external disks, and spare SSDs can hold just as much personal data as a computer. Decide whether to keep, erase securely, or physically destroy storage according to the data's sensitivity and manufacturer guidance. For business-owned equipment, check any asset-disposal rules before removing internal drives.
Also remove labels containing passwords, business inventory information, or other sensitive details. A seller's photograph of a device should not publicly expose an account recovery code, personal address, or an unlocked screen showing private messages.
7. The final handoff check
After reset, confirm the device displays the ordinary initial setup screen, with no personal files or previous-owner activation prompts. Record the model and serial number privately for your own sale documentation. Pack the correct charger and accessories, and describe any remaining defects accurately. A reset device is not automatically a fully working device; test hardware separately.
If you're considering a local trade-in, review the current information at Sell or Trade In with TamDo.us. The condition and model determine what evaluation is possible, and the final offer depends on the actual item. Bring your charging accessories when helpful and have important data backed up before the visit.
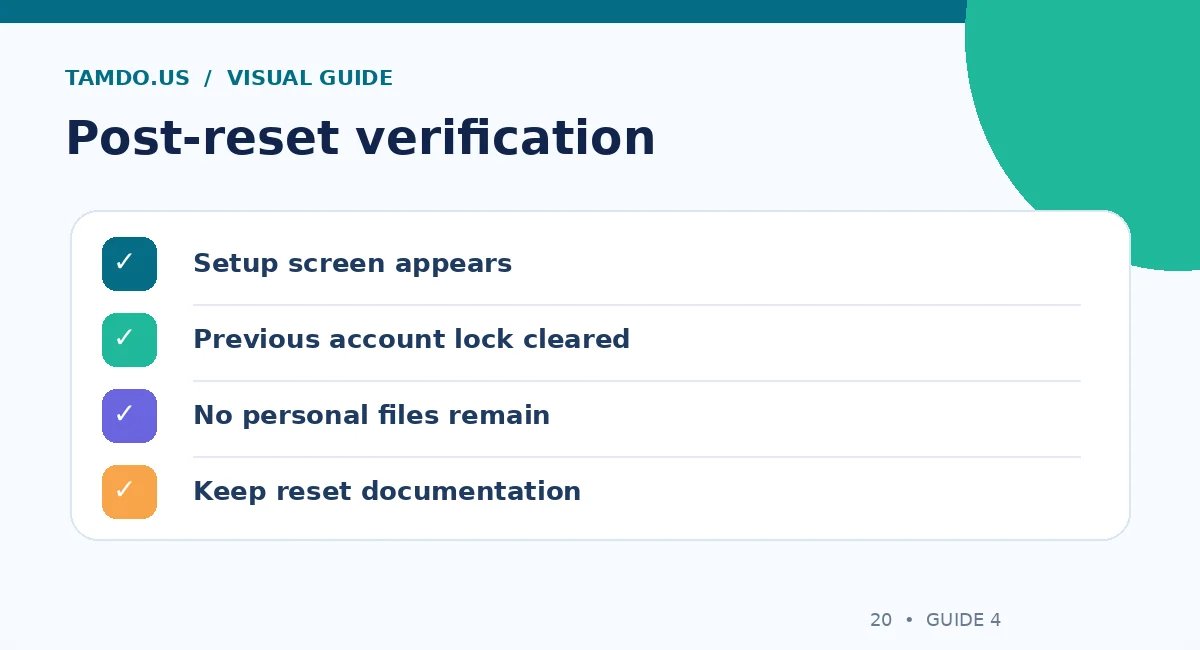
Post-reset verification — original educational illustration created for TamDo.us.
Final takeaway
The correct order is backup, transfer, remove account locks, erase using the official procedure, then verify. It protects your privacy and gives the next owner a cleaner start. When information is especially sensitive, use an approved professional sanitization process rather than relying only on a consumer reset.
Frequently Asked Questions
Is manually deleting photos enough before selling a phone?
No. Use the device manufacturer’s full ownership-transfer and erase process.
Does Windows Reset PC meet business-grade data destruction standards?
Not necessarily. Microsoft notes its consumer cleanup is not a replacement for industry-grade sanitization.
Should I remove my SIM and microSD card?
Yes, remove physical cards when applicable and separately transfer any eSIM service before the handoff.