
A used camera lens can be one of the smartest purchases in photography. Quality optics often stay useful across multiple camera bodies, and a well-kept lens may retain substantial value. But cosmetic appearance alone cannot tell you whether the focus motor works, the aperture operates correctly, or the glass contains damage that affects images. Bring this checklist to your next secondhand lens purchase.
1. Confirm the exact lens mount first
“Canon lens” or “Sony lens” is not enough information. Camera systems use different lens mounts, and some combinations require specific adapters with compatibility limitations. Verify the lens's full model designation and the camera body's mount, sensor format, and autofocus support. A lens that physically attaches through an adapter may not behave exactly like a native model.
Check whether the lens is designed for a full-frame sensor or a smaller sensor format. Some cameras automatically crop with certain lenses; others may show vignetting. The best deal is not a deal if you cannot use the lens the way you planned.
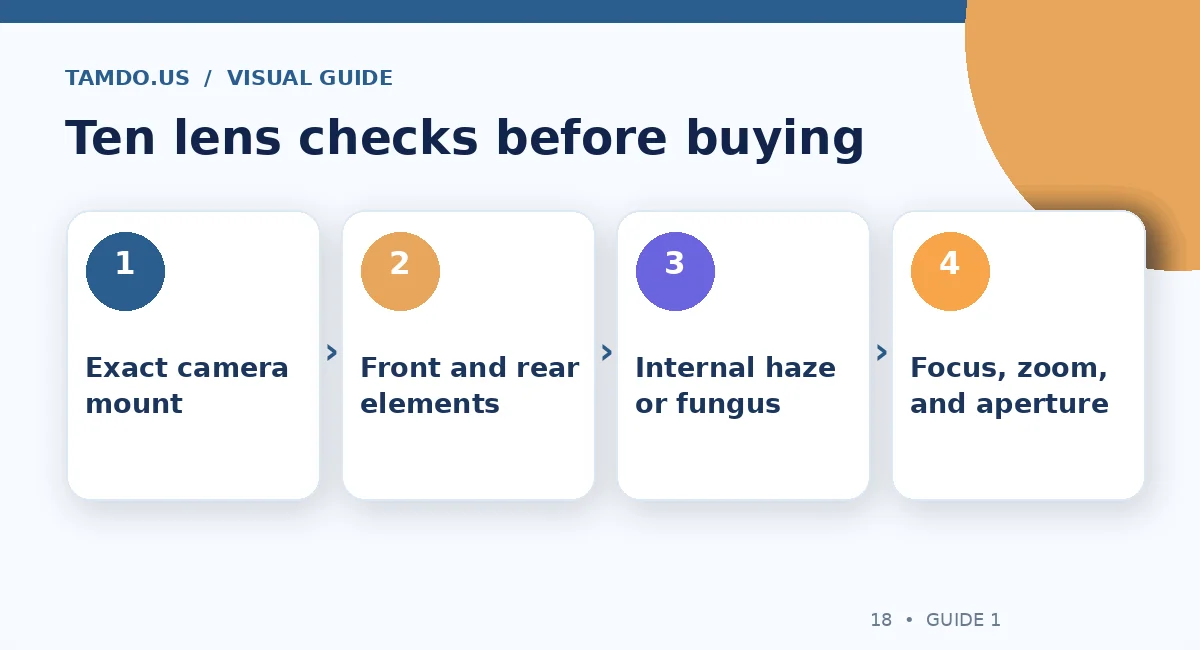
Ten lens checks before buying — original educational illustration created for TamDo.us.
2. Inspect the front and rear glass
Use clean, angled light to look for scratches, coating damage, chips, or marks on the front and rear elements. Avoid touching glass with fingers or trying to polish away a problem. The rear element deserves attention because damage there may be less obvious in listing photos. Small cosmetic marks do not always ruin a picture, but their impact depends on location and severity.
Ask for photographs that show the actual lens glass rather than only the exterior barrel. A dramatic flashlight beam can exaggerate harmless particles, so judge what you see alongside real test photographs.
3. Learn the difference between dust, haze, and fungus
Many used lenses have a few tiny internal dust particles; these may have little visible effect in ordinary images. Haze is a more diffuse cloudiness that can reduce contrast, while fungus can appear as branching or web-like patterns inside the optics. Their exact appearance varies, and a casual inspection cannot always identify the cause.
Do not assume a professional cleaning will be cheap or possible. Some contamination or coating damage is difficult to correct and can require significant disassembly. If you cannot assess the condition confidently, request a professional inspection or choose a different lens.
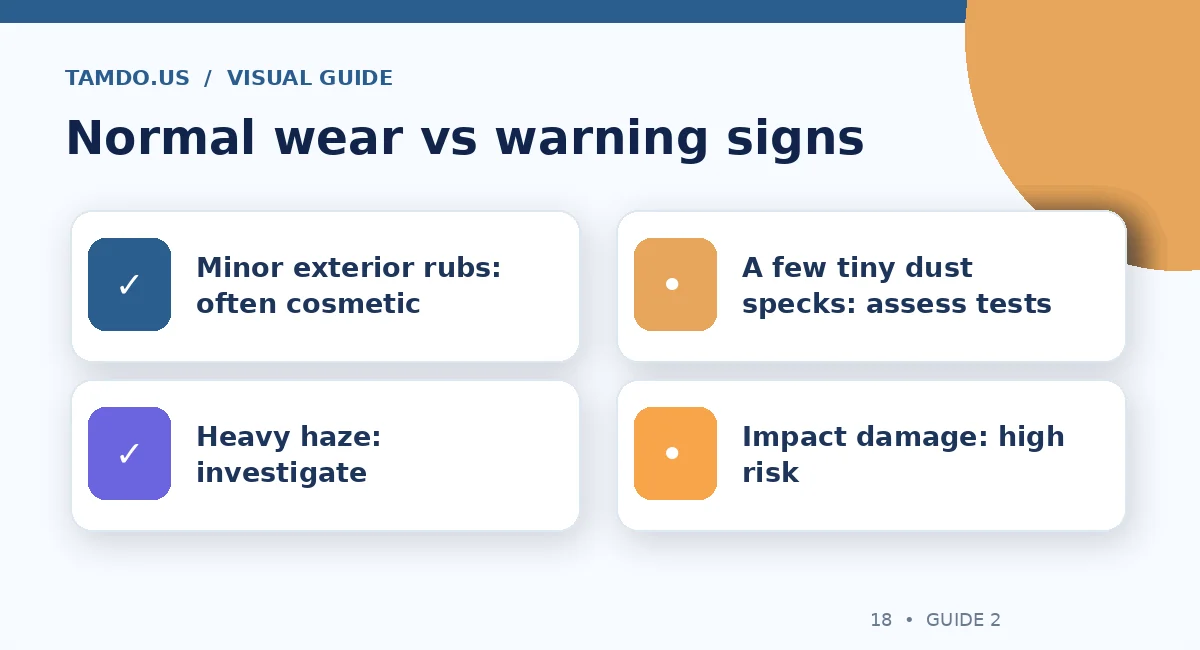
Normal wear vs warning signs — original educational illustration created for TamDo.us.
4. Test the focus and zoom mechanisms
Mount the lens on a compatible camera and try focusing on a nearby subject and a more distant subject. Listen for unusual grinding and check whether autofocus hunts excessively in good light. Autofocus performance also depends on the camera body, firmware, subject contrast, and focus settings, so a single missed shot is not definitive.
Rotate manual focus and zoom rings through their available range. They should behave consistently without obvious binding or unusual looseness. Check extending barrels for excessive wobble, and test focus stabilization or special switches if the lens has them.
5. Check the aperture and take multiple test photos
Try the lens at a wide aperture and a narrower setting such as f/8 when supported. Watch for exposure problems or error messages that could indicate an aperture or electronic communication issue. Photograph a detailed subject with reasonably even lighting, then inspect the files on a larger screen if possible.
Take several photos rather than trusting one thumbnail on the camera. Look for inconsistent sharpness across the frame, unexpectedly soft corners, or uneven blur—but remember that lens design, focusing technique, motion, and field curvature also influence results. Compare findings with realistic expectations for that specific model.
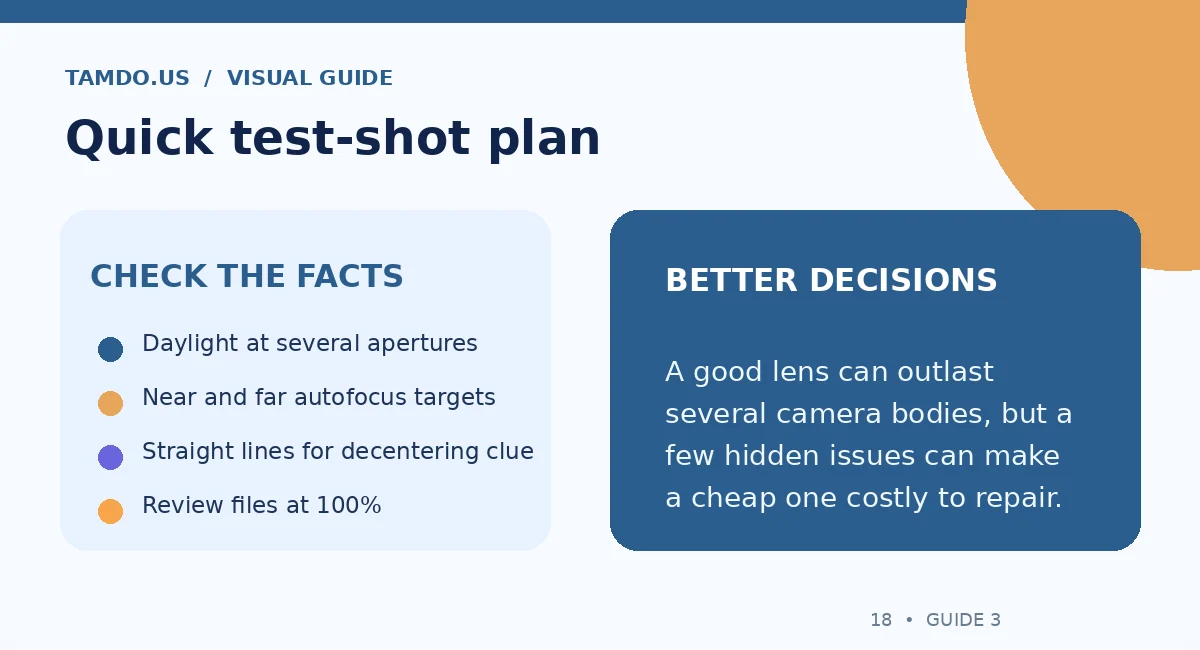
Quick test-shot plan — original educational illustration created for TamDo.us.
6. Inspect the barrel, mount, and contacts
Look for dents, bent filter threads, missing screws, cracked switches, and heavy impact marks. Examine the mount for damaged locking surfaces and check electronic contacts for contamination or corrosion. A lens should mount securely without force; never twist or pry a mount that appears misaligned.
Some lenses have weather-sealing gaskets, tripod collars, hoods, or switches that affect value. Confirm which accessories are actually included. A replacement hood or specialty filter can add meaningful cost to a low-priced lens.
7. Ask about previous repairs and storage
Has the lens been dropped, exposed to moisture, stored in a humid environment, or repaired? A truthful history helps assess risk even when a lens seems functional. Canon's own maintenance service checks optics, camera communication, barrel condition, rings, aperture action, and sample image quality—useful categories for a buyer's inspection.
If the seller cannot demonstrate functionality, price the uncertainty rather than assuming it works. Clear written descriptions and a reasonable return policy make remote purchases easier to assess than vague phrases such as “looks good to me.”
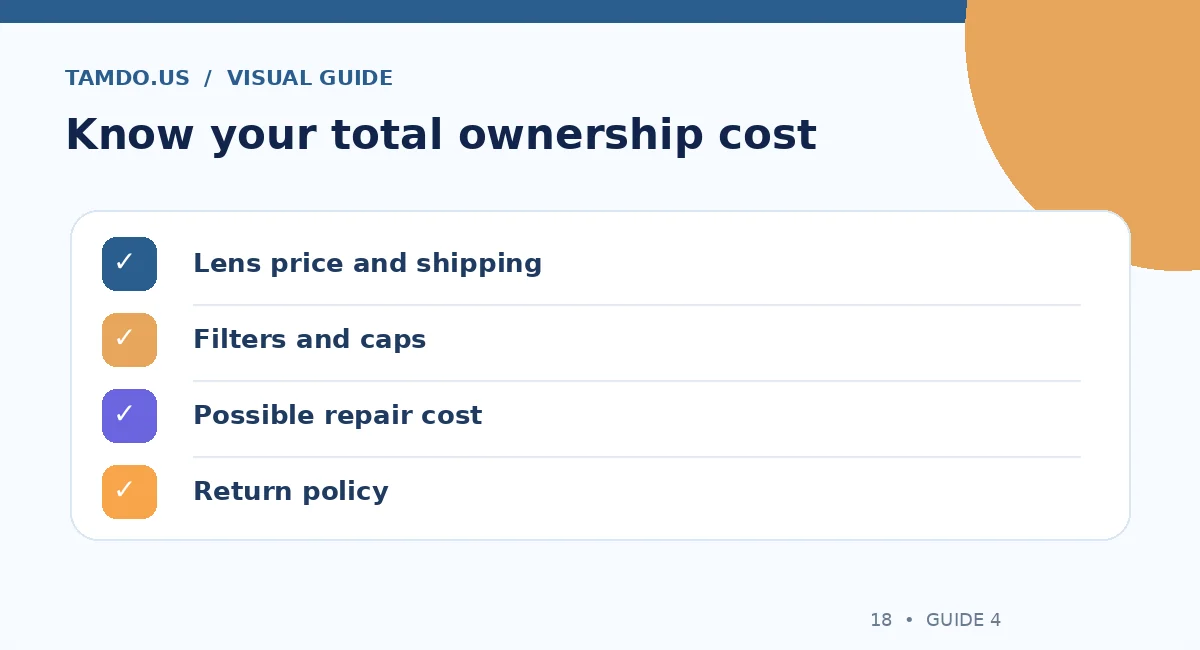
Know your total ownership cost — original educational illustration created for TamDo.us.
8. Buy for the photographs you actually take
A fast portrait prime is different from a travel zoom or a close-focusing macro lens. Consider focal length, weight, autofocus speed, maximum aperture, and stabilization—not just the original retail price. The right lens for a beginner may be a versatile, affordable zoom rather than a prestigious lens that seldom leaves the bag.
Browse the current camera lens selection and digital cameras at TamDo.us. Before buying, verify the full model and condition of the exact item because available equipment changes frequently.
Final takeaway
Confirm the mount, inspect optical surfaces, test all mechanical and electronic functions, and compare actual photos. A lens is worth buying when its condition and photographic usefulness support the total price.
Frequently Asked Questions
Is a little dust inside a used lens normal?
A few small particles are common and may not affect typical photos, but assess real images and the amount of contamination.
Can lens fungus always be cleaned?
No. Service may be expensive or incomplete, especially if coatings or internal components are damaged.
Is a lens adapter guaranteed to preserve autofocus?
No. Compatibility and performance depend on the lens, body, adapter, and firmware.